Plans, cut lists, and costs from the Hay Girl Diaries guide to DIY horse jumps. Prices are typical 2026 big-box store prices, rounded to keep the math simple. Always wear safety glasses, sand every edge, and check for screw tips.
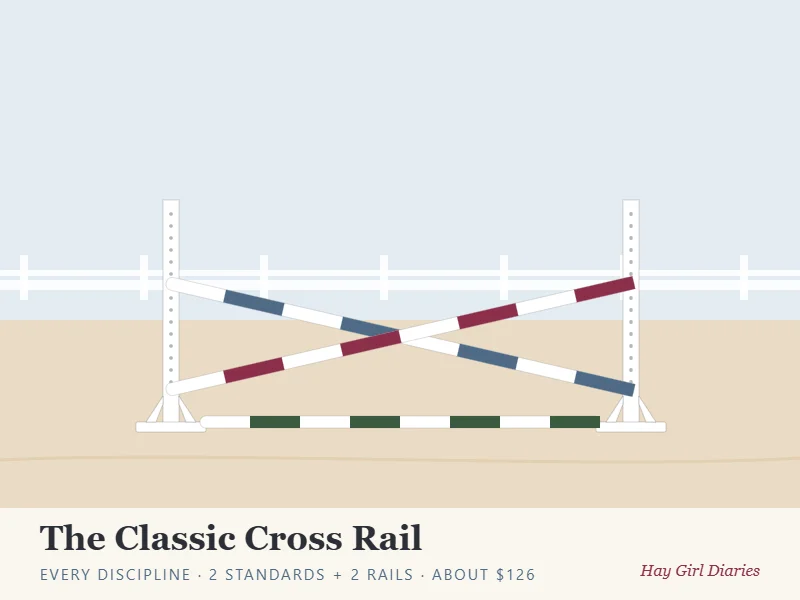
Sizes to build to
| Part | Size to build to |
|---|---|
| Rails | 10 to 12 ft long, 3 to 4 in thick |
| Jump cups | About 3 in wide and ¾ to 1½ in deep |
| Wing standards | At least 24 in wide and 12 in taller than the jump |
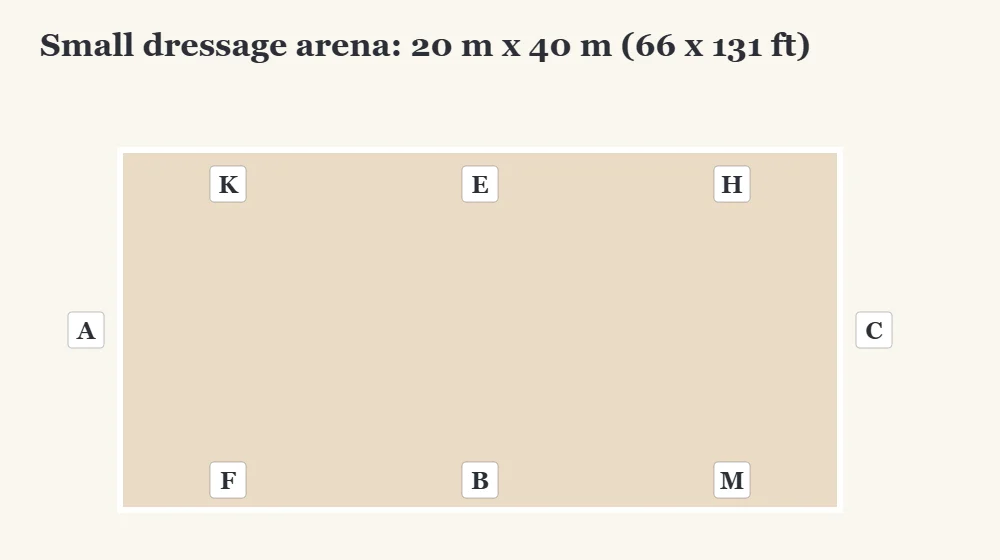
| Small dressage arena | 20 x 40 m (about 66 x 131 ft) |
| Large dressage arena | 20 x 60 m (about 66 x 197 ft) |
| Gait | Distance between poles (average horse) |
|---|---|
| Walk | 2.5 to 3 ft |
| Trot | 4 to 4.5 ft |
| Canter | 9 to 11 ft |
Build 1: A pair of jump standards
About 3 to 4 hours. Standards are the two upright posts that hold your rails. Every jump on this page starts here.
| What to buy | Qty | Each | Cost |
|---|---|---|---|
| 4×4 pressure-treated post, 8 ft | 2 | $12 | $24 |
| 2×6 pressure-treated board, 8 ft | 2 | $10 | $20 |
| 2×4 pressure-treated board, 8 ft | 1 | $6 | $6 |
| 3 in exterior screws (1 lb box) | 1 | $12 | $12 |
| Metal jump cups with pins (1 pair) | 1 | $10 | $10 |
| Exterior paint (1 quart) | 1 | $18 | $18 |
| Total | $90 |
Cuts
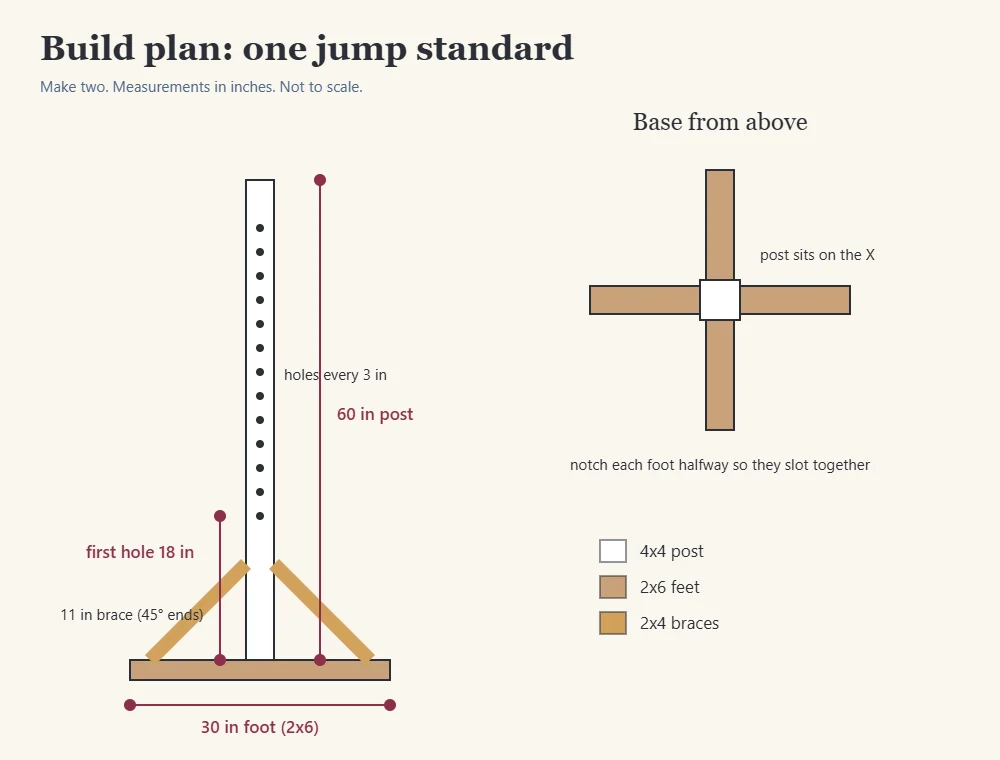
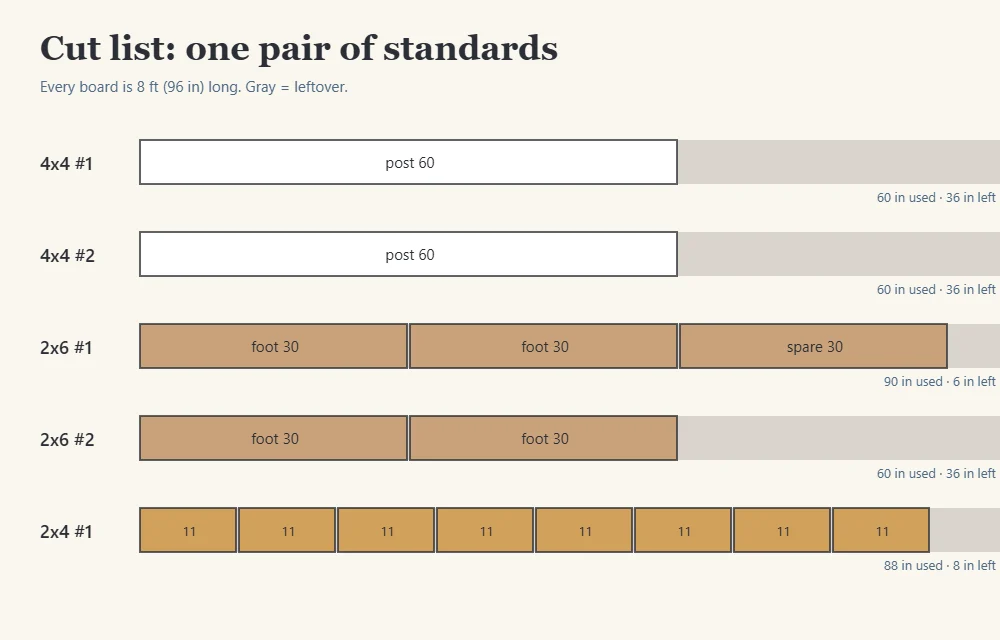
- Each 4×4: cut one 60 in post (save the 36 in leftover for later projects).
- 2×6 boards: cut four feet, 30 in each.
- 2×4 board: cut eight braces, 11 in each, with a 45° angle on both ends.
Steps
- Notch the feet. On two of the 30 in feet, mark a notch in the exact middle that is as wide as the board (5.5 in) and half as deep (0.75 in). Cut it with several shallow passes of a circular saw and knock out the waste with a hammer and chisel.
- Make the X. Slot two notched feet together so they form a plus sign (+), lying flat. Repeat for the second standard. If notching feels like too much, you can simply screw the two feet on top of each other instead; the base will just be 1.5 in taller.
- Attach the post. Stand a 60 in post in the center of the X. Drive two screws up through each foot into the bottom of the post.
- Add the braces. Screw one 11 in brace from each foot up to the post, four per standard. This is what keeps the standard from wobbling.
- Mark the holes. On the front face of each post, make a mark 18 in up from the bottom of the post, then every 3 in above that, up to 54 in. That gives you 13 cup heights.
- Drill the holes. Use a drill bit the same size as the pins on your jump cups (check the package). Drill straight through the post at every mark. Make sure the holes on both standards match.
- Sand and paint. Sand every edge and corner smooth, check that no screw tips poke out, and paint. White is classic; add a colored stripe for fun.
Build 2: A jump rail
About 30 minutes, plus paint drying. Rails should be 10 to 12 ft long and 3 to 4 in thick, which is exactly what a 4×4 is.
| What to buy | Qty | Each | Cost |
|---|---|---|---|
| 4×4 pressure-treated post, 12 ft | 1 | $18 | $18 |
| Total | $18 |
Cuts
- No cuts needed. A 12 ft 4×4 is heavy, so get help carrying it, or use a 10 ft board if your store has one.
Steps
- Round the edges. Sand or plane the four long corners so they are rounded, not sharp.
- Paint stripes. Paint the whole rail white. When it is dry, wrap painter’s tape around it every 18 in and paint every other section a color.
- Check it. Run your hand along the whole rail. No splinters, no rough spots.
Build 3: A set of 3 cavaletti
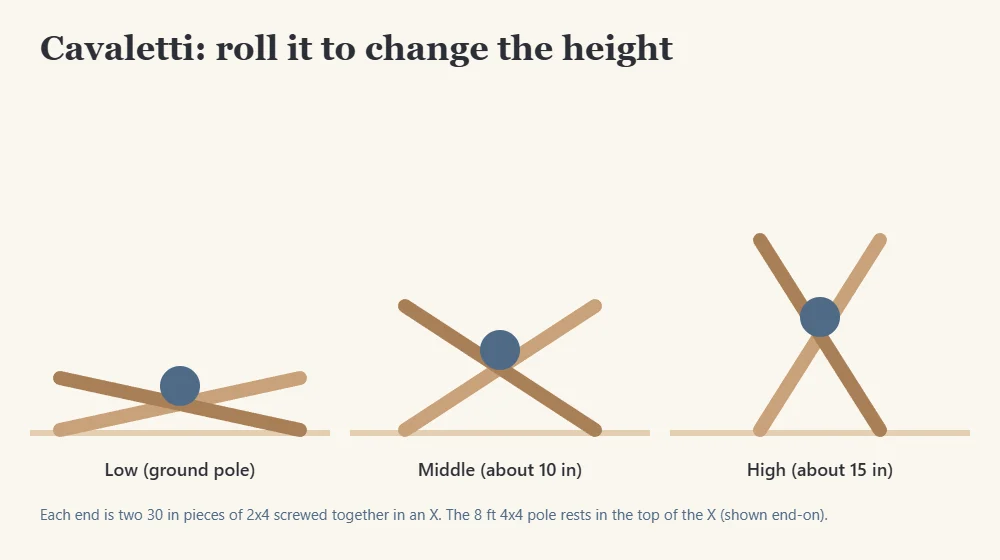
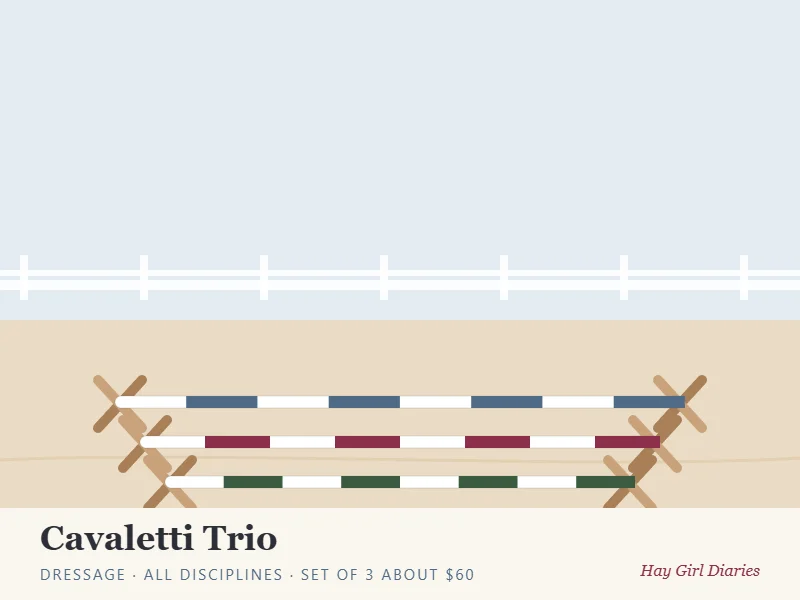
About 2 hours. Cavaletti are low poles with X-shaped ends. Roll them to change the height. They are great for dressage, flatwork, and young horses.
| What to buy | Qty | Each | Cost |
|---|---|---|---|
| 4×4 pressure-treated post, 8 ft (poles) | 3 | $12 | $36 |
| 2×4 pressure-treated board, 8 ft (ends) | 4 | $6 | $24 |
| Total | $60 |
Cuts
- 2×4 boards: cut twelve legs, 30 in each (three per board).
Steps
- Make the X ends. Cross two 30 in legs at their centers and screw them together with two screws. Make six X ends.
- Attach the pole. Lay a 4×4 pole in the top V of two X ends, about 6 in in from each end of the pole. Screw through each leg into the pole.
- Sand and paint. Smooth every edge. Paint each pole a different color so they are easy to tell apart.
- Set the heights. Roll the cavaletti to choose low (almost a ground pole), middle (about 10 in), or high (about 15 in).
Build 4: A flower box
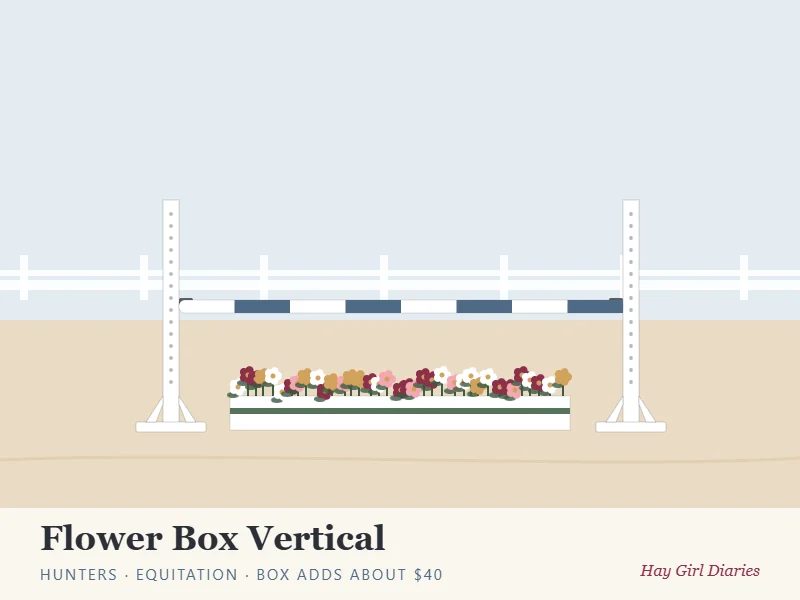
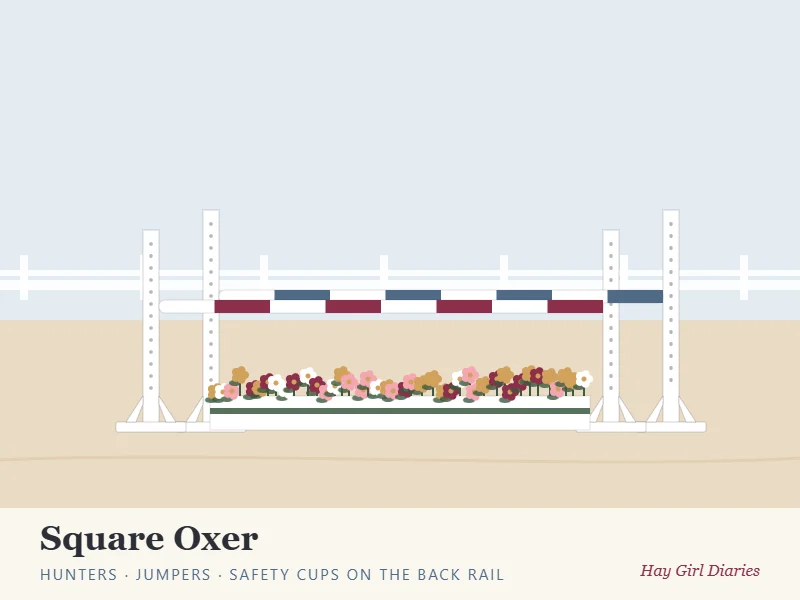
About 1 hour. The cutest filler there is. Set it under a vertical rail for a classic hunter look.
| What to buy | Qty | Each | Cost |
|---|---|---|---|
| 2×6 pressure-treated board, 8 ft | 2 | $10 | $20 |
| Faux flowers (outdoor) | 1 | $20 | $20 |
| Total | $40 |
Cuts
- Board 1: cut two sides, 46 in each.
- Board 2: cut one bottom, 46 in, and two ends, 8.5 in each.
Steps
- Build the box. Stand the two sides on the long edges of the bottom board and screw them on. Screw the two ends on to close the box.
- Paint it. White with a green stripe looks great with any rail.
- Fill it. Push the faux flowers into a block of floral foam or a layer of sand so they stay put.
Build 5: A painted brick wall
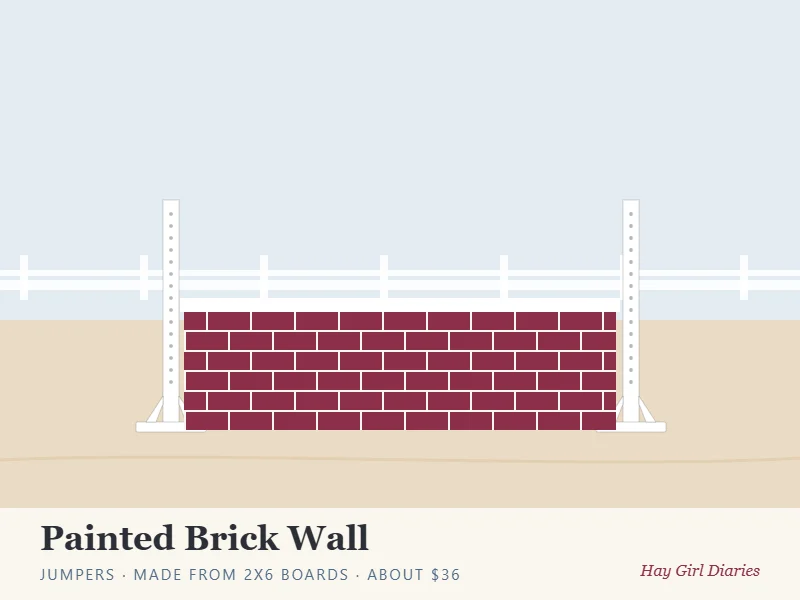
About 1.5 hours, plus paint. A bold jumper-style filler made from boards, so you do not need a big sheet of plywood.
| What to buy | Qty | Each | Cost |
|---|---|---|---|
| 2×6 pressure-treated board, 8 ft | 3 | $10 | $30 |
| 2×4 pressure-treated board, 8 ft | 1 | $6 | $6 |
| Total | $36 |
Cuts
- 2×4 board: cut three cleats, 16.5 in each.
Steps
- Line up the boards. Lay the three 2×6 boards flat, edge to edge.
- Add the cleats. Screw one cleat across the back of the boards near each end and one in the middle.
- Paint the bricks. Paint the front red or plum. Use painter’s tape to mask a brick pattern, then paint the lines cream.
- Set it up. Lean the wall in front of your standards under a rail. It should be shorter than the rail so the rail is the top of the jump.
Build 6: A white picket gate
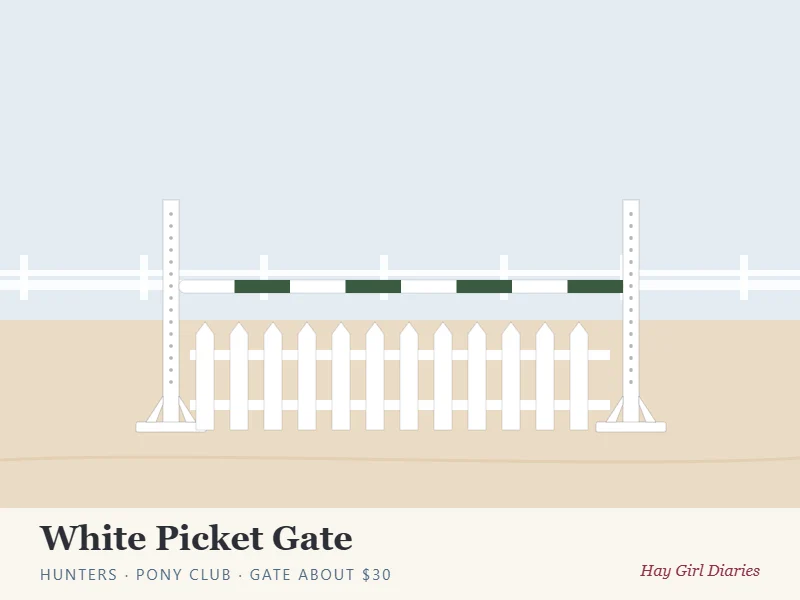
About 2 hours. A pretty hunter-style filler.
| What to buy | Qty | Each | Cost |
|---|---|---|---|
| 2×4 pressure-treated board, 8 ft | 5 | $6 | $30 |
| Total | $30 |
Cuts
- Keep two boards whole (top and bottom rails).
- Cut the other three into twelve pickets, 22 in each (four per board). Cut a point on one end of each picket.
Steps
- Lay it out. Place the two long rails flat and parallel, about 14 in apart.
- Add the pickets. Screw the pickets across both rails, spaced evenly, with the points up.
- Paint it white and lean it in front of the standards under a rail.
Build 7: Dressage letter markers
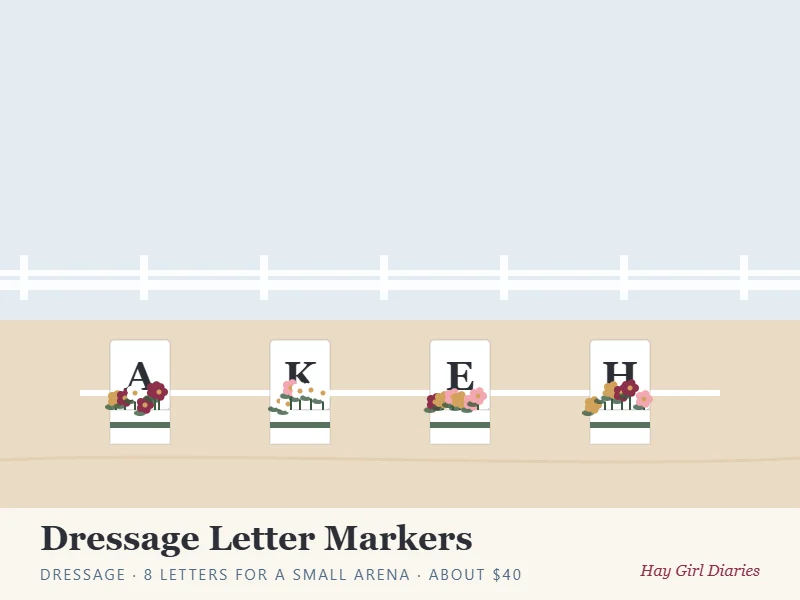
About 1 hour, plus paint. No jumping needed. Eight letters mark out a small dressage arena.
| What to buy | Qty | Each | Cost |
|---|---|---|---|
| 4×4 pressure-treated post, 8 ft | 2 | $12 | $24 |
| Exterior paint (1 quart) | 1 | $18 | $18 |
| Total | $42 |
Cuts
- Cut each 4×4 into five blocks, 18 in each (you need eight, so you get two spares).
Steps
- Paint the blocks white.
- Stencil the letters A, K, E, H, C, M, B, and F in black or navy.
- Place them using the arena diagram: A and C at the short ends, E and B at the middle of the long sides, and K, H, M, and F 6 m (about 20 ft) in from the corners.
More ideas
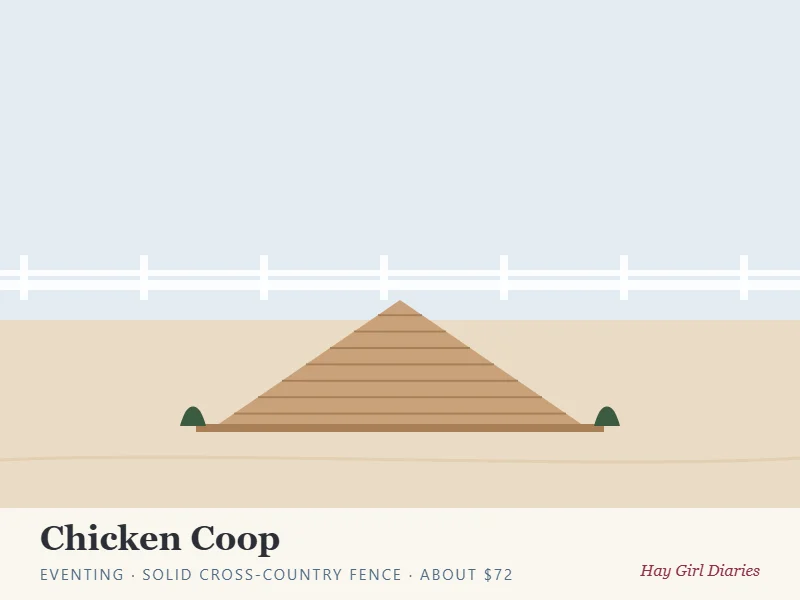
Chicken coop (eventing): A solid A-frame for cross-country schooling. About 6 2×6 boards and 2 2×4 boards: 6 x $10 + 2 x $6 = $72. Keep it small and make sure it cannot tip over.
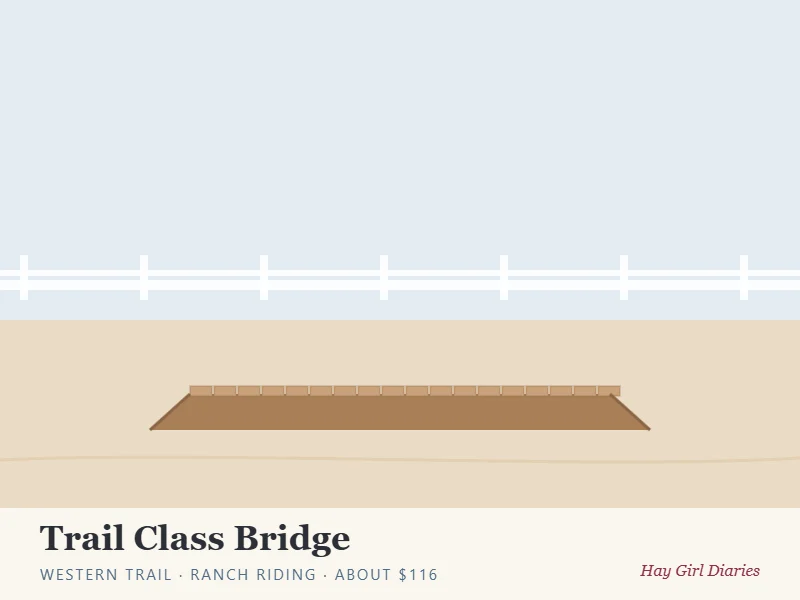
Trail bridge (western trail): Deck boards on top of 4×4 runners. About 8 2×6 boards and 3 4×4 posts: 8 x $10 + 3 x $12 = $116. It must sit flat and solid on the ground everywhere and feel completely steady before a horse walks on it.
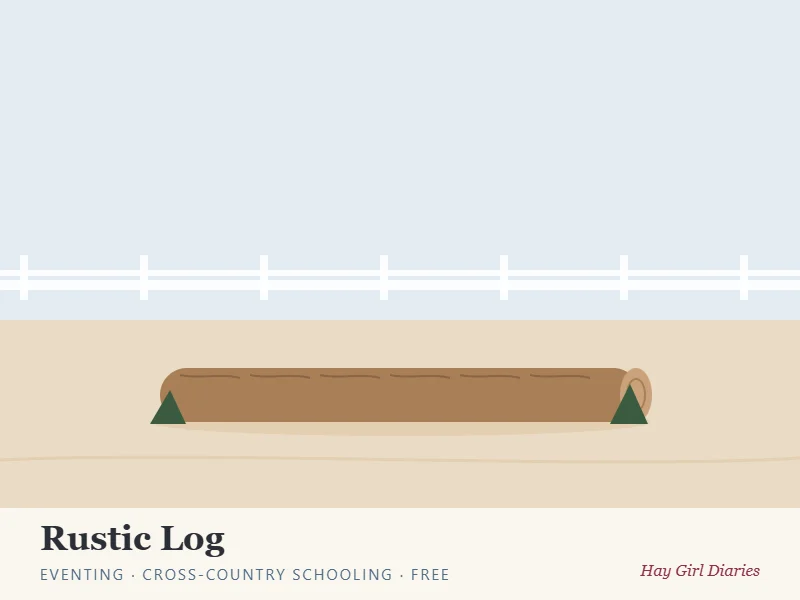
Rustic log (eventing): A real log, about 12 to 18 in high, chocked with stakes or blocks so it cannot roll. Cost: free.
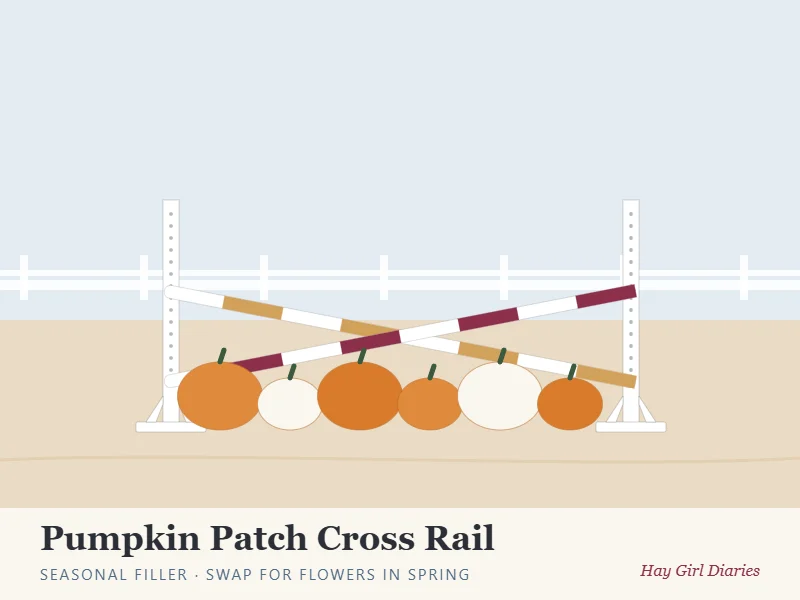
Pumpkin patch or flower filler: Real or faux pumpkins (fall) or flower pots (spring) set under a cross rail. Keep them low and away from the horse’s landing spot.
Money saved
| Cost | |
|---|---|
| Store-bought wooden schooling standards (pair, 5 ft) | $434 |
| Metal jump cups for them (sold separately, from) | $35 |
| Store-bought total | $469 |
| DIY standards, cups, and paint (Build 1) | $90 |
| You save: $469 − $90 | $379 |
Lookbook
© Hay Girl Diaries · haygirldiaries.com